Checks are a flexible method of payment that may be used for a variety of purposes, including paying taxes, sending out invoices, and managing business spending. When you have check printing software on hand, you may design checks anytime you need to without having to worry about visiting your bank or ordering online, and at a much more affordable price than you would pay if you ordered checks from the bank or online.
Can I design my own checks?
Yes, you can create print and track checks from home or office using a regular printer with the help of check writing software. Following the Checks 21 act, it’s legal to print checks yourself and deposit them in banks like you would a regular check.
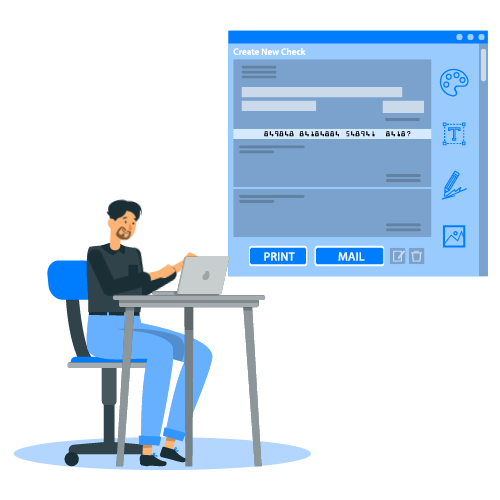
Using a customized check design tool makes it easier to print professional-looking designer checks from any device on an online cloud-based check printing platform by Zil Money.
Personalize your checks by adding your favorite Disney character like Mickey Mouse to your check, add your business logo, change font style and print them on premium quality blank check stock on demand.
You can print checks in multiple formats- Check on Top, Check on Bottom, Check on Bottom, Three per page, and wallet size checks.
How to Print Checks at Home: Steps by Step Guide
To print your checks from home or office using a regular printer, you will need to follow the following steps
- Invest in Check Printing Software
Consider investing in the online or offline check printing software. This will let you print checks in the correct check format on blank check stock paper.
- Get the Check Stock Paper
Get some check stock paper available from your nearest office supply store or Amazon
- Add your Account and Routing Number
Place the routing number and account number. To get it on your check, type the routing number at the bottom left corner of your check and your account number right to it.
- Add your Personal Information
Your personal information appears on the check in the upper left corner. Your name and address are among the information. The bank’s logo should be placed in the top-right corner of your check if you want to.
- Add the Check Number
Place your check number in the upper right corner of your check. Also, place the check number next to the account number printed at the bottom left of your check
- Add the Bank’s Fractional Number
Put the fractional number for your bank just below the check number. The fractional number is composed of a digit, a dash, and then a larger number. It serves only to identify the area in where your bank is located.
- Add the Date Line
The line where you would add the date would be directly below the check number.
- Add the Payee Column
At the right side of the check, Type “Pay to the order of” and put a line or two or next to it. End the line at the $ sign.
- Add the Amount Box
Add a box with a fractional value for the amount to be paid below the date. In the space to the left of the box, write “$.”
- Add the Memo Line
Add the word “For” and a line to the left of the check. You place the memo there.
- Add the Signature Line
Add the word “For” and a line to the left of the check. You place the memo there.
Once you have completed the steps above, you can confidently print your checks on blank check stock or white paper.
Benefits of Printing Checks on Blank Check Stock
Printing checks on blank check stock can bring down your annual check printing costs by 80%. Ordering pre-printed checks from a bank or online can cost your business around $0.30 per check, with a checkbook carrying 100 check leaf’s being $28 to $35.
Additionally, ordering designer checks online from Walmart or Costco can be expensive. Zil Money check printing solution for small businesses offers premium-looking checks that leave a good impression on your customers at much lower price on blank check stock.


